
How Do I Connect My Printer to the Computer
A Complete Step-by-Step Guide to Connect Printer
PRINTER
Posted by Tae K.
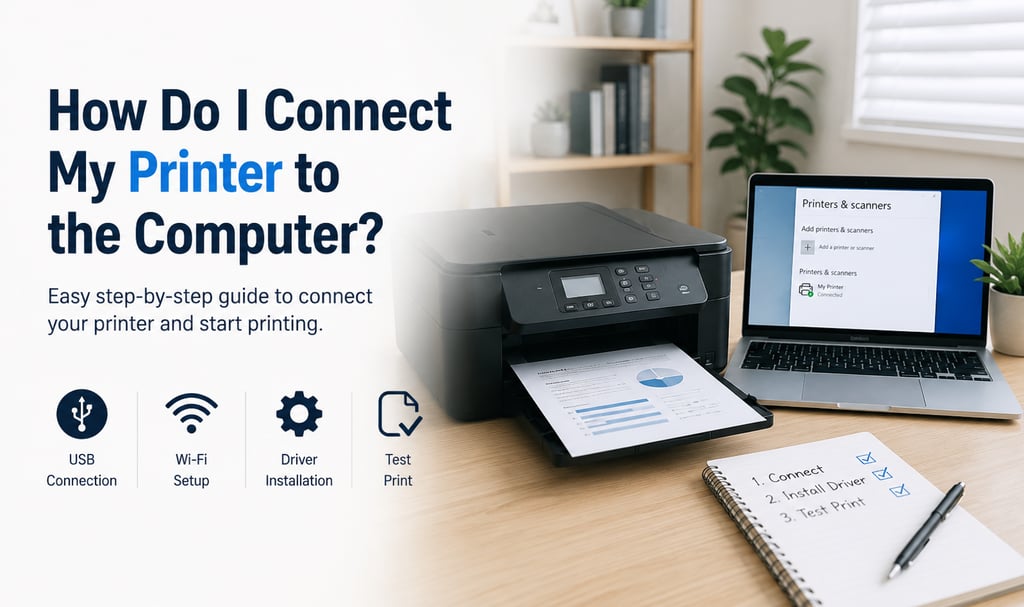
How Do I Connect My Printer to the Computer?
A Complete Step-by-Step Guide
Printers remain essential devices for homes, offices, schools, and businesses. Whether you need to print important documents, school assignments, invoices, or family photos, having your printer properly connected to your computer is crucial. However, many users encounter difficulties during the setup process and often ask, "How do I connect my printer to my computer?"
Fortunately, connecting a printer is usually straightforward once you understand the available connection methods and follow the correct setup steps. In this guide, we'll walk through everything you need to know about connecting a printer to your computer, troubleshooting common issues, and ensuring a reliable printing experience.
Understanding Printer Connection Methods
Before starting the setup process, it's important to know how your printer connects to a computer. Most modern printers support one or more of the following connection methods:
USB connection
Wi-Fi connection
Ethernet network connection
Bluetooth connection
The setup process varies depending on the type of connection your printer supports.
Method 1: Connecting a Printer via USB
A USB connection is the simplest and most reliable way to connect a printer.
Step 1: Turn On the Printer
Plug the printer into a power outlet and switch it on. Make sure there are no warning lights or error messages displayed.
Step 2: Connect the USB Cable
Connect one end of the USB cable to the printer and the other end to an available USB port on your computer.
Step 3: Wait for Automatic Detection
Most modern Windows and Mac computers automatically detect the printer and install the required drivers.
Step 4: Complete Installation
Follow any on-screen instructions. Once installation is complete, print a test page to confirm the connection is working correctly.
Method 2: Connecting a Printer via Wi-Fi
Wireless printing is increasingly popular because it eliminates cable clutter and allows multiple devices to use the same printer.
Step 1: Connect the Printer to Wi-Fi
Access your printer's control panel and navigate to the Wireless Settings menu. Select your Wi-Fi network and enter the network password.
Step 2: Verify Network Connection
After connecting, the printer should display a Wi-Fi icon or confirmation message indicating a successful connection.
Step 3: Add the Printer on Windows
Open Settings.
Select "Bluetooth & Devices."
Click "Printers & Scanners."
Choose "Add Device."
Select your printer from the list.
Step 4: Add the Printer on Mac
Open System Settings.
Select "Printers & Scanners."
Click the "+" button.
Choose your printer.
Complete the installation process.
Once installed, your computer should communicate with the printer through your wireless network.
Method 3: Connecting Through Ethernet
Many office printers support wired network connections using Ethernet cables.
Advantages of Ethernet Connections
More stable than Wi-Fi
Faster communication
Better for multiple users
Reduced wireless interference
Simply connect the printer to your router or network switch using an Ethernet cable. Then add the printer through your computer's printer settings just as you would with a wireless printer.
Installing Printer Drivers
Drivers act as translators between your printer and your operating system.
Without the correct driver, your computer may not recognize the printer or may lose access to advanced features.
Most printers automatically install drivers, but sometimes manual installation is required. In such cases:
Visit the printer manufacturer's website.
Download the latest driver for your operating system.
Run the installation file.
Restart your computer if necessary.
Installing updated drivers can also improve printer performance and compatibility.
Common Printer Connection Problems
Even with modern technology, setup issues can still occur.
Printer Not Detected
If your computer cannot find the printer:
Verify all cables are connected securely.
Restart both the printer and computer.
Check that the printer is powered on.
Reconnect to the Wi-Fi network.
Printer Appears Offline
A printer may show as offline even when powered on.
Possible solutions include:
Restarting the printer.
Checking network connectivity.
Updating printer drivers.
Removing and re-adding the printer.
Wireless Connection Keeps Dropping
Wireless printers sometimes lose connection due to:
Weak Wi-Fi signals
Router issues
Network congestion
Firmware problems
Position the printer closer to the router and ensure both devices are running the latest firmware updates.
Tips for Maintaining a Reliable Printer Connection
To avoid future connection issues:
Keep printer firmware updated.
Use strong Wi-Fi coverage.
Restart network equipment occasionally.
Install updated drivers regularly.
Keep the printer clean and well-maintained.
These simple practices can significantly improve long-term printer performance.
Final Thoughts
Connecting a printer to a computer is easier than many people think. Whether you're using a USB cable, Wi-Fi, Ethernet, or Bluetooth, the process usually takes only a few minutes when the proper steps are followed.
The key is to ensure that the printer is powered on, connected correctly, and running the latest drivers and firmware. If problems arise, basic troubleshooting such as restarting devices, checking network settings, and updating software often resolves the issue quickly.
By understanding the different connection methods and following the setup instructions carefully, you can enjoy smooth, reliable printing for documents, photos, school projects, and business tasks whenever you need them.
Contact Us
Get in touch with us
Phone Number:
info@primetechcarelv.com
© 2025. All rights reserved.
Address:
Email: